Report template generator
- Where it is
- How to access this tab
- Introduction
- Instructions for creating a report template
- 1. Selecting the report template
- 2. The name of the report
- 3. The choice of filtering fields
- 4. Description of the report
- 5. Report code
- More details about the generation algorithm of the report (report code)
- Export of the parsed data
- The result of the report
- 6. Save of the report template
- Generation
- Editing template report
Last update: 31 Jan 2023
Where it is
All functionality to create a template of an individual report is located in the tab Report template generator:

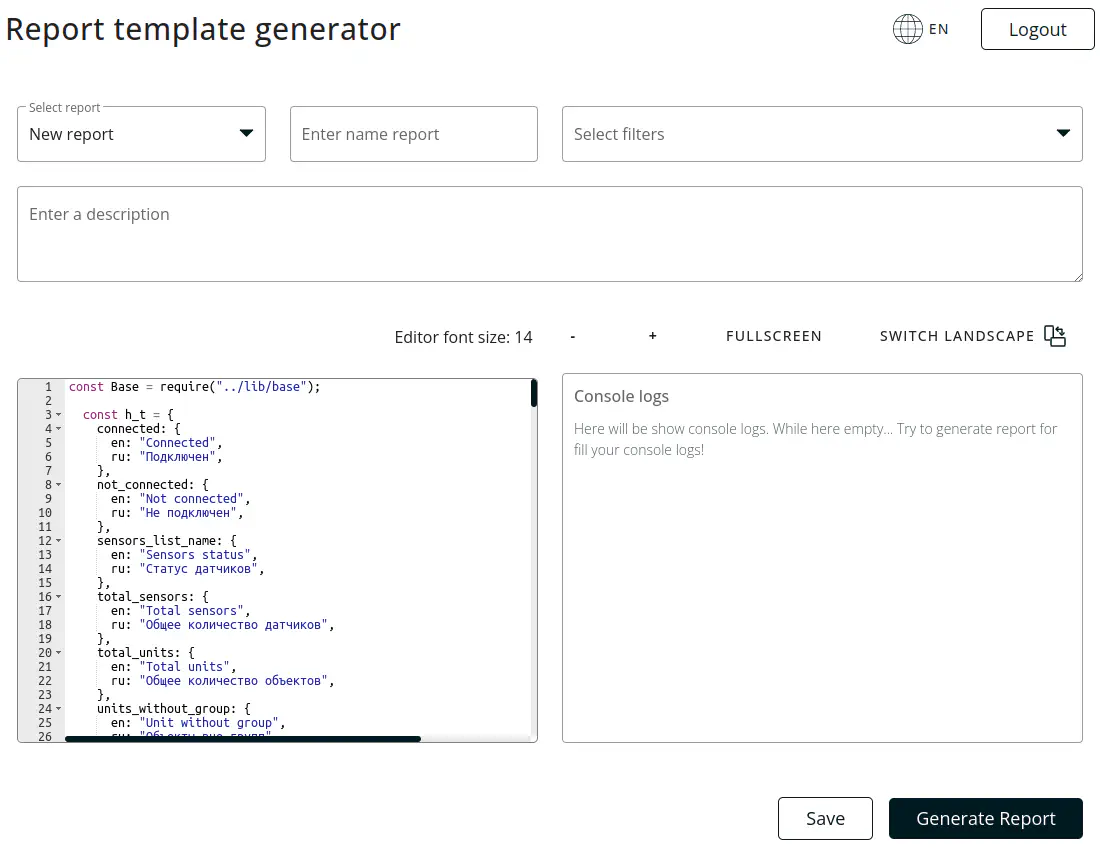
How to access this tab
Depending on your contract and initial requirements, the application administration, at your request, may include this tab in which all its functionality will be available.
Introduction
- This module allows administrators of the organization create an independent template on your own, which the whole organization will be able to use in the future.
- Programming language on which the report template is written - JavaScript.
- Package for working with Excel - excel4node.
Instructions for creating a report template
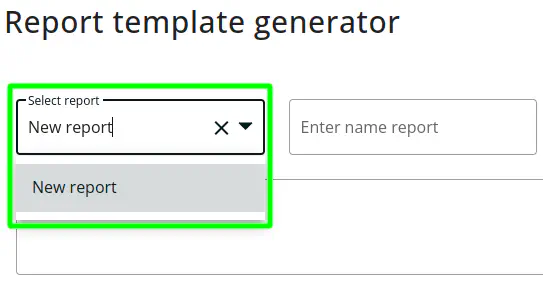
1. Selecting the report template
The standard value for the report when tab was opened will - “New report”, that implies the creation of a new report template. If you need to update the previously created report template, it must be selected in the drop-down list. If a new report is created, the option should be selected in the drop-down list “New report”. The field is required.
2. The name of the report
The value that will display the name of the report in the tab “Report Templates”. We strongly recommend introducing a unique name for each report, for comfortable work in the future. The field is required.

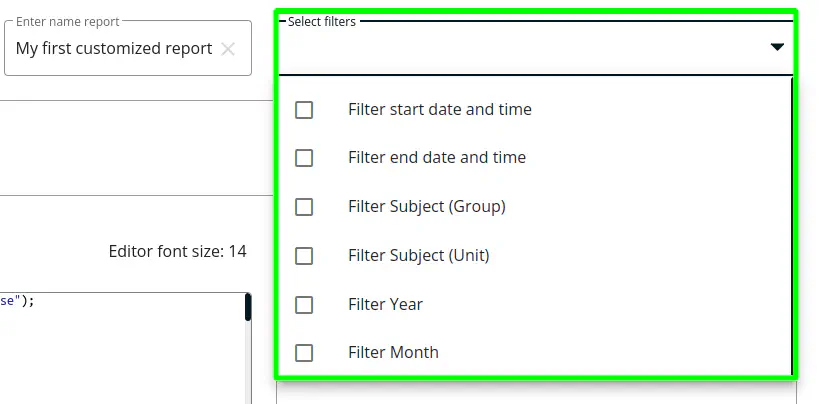
3. The choice of filtering fields
In this drop-down list, it is possible to choose filtration fields that will be provided to the user when generating a report.The following fields are currently available:
- filter of the start date and time;
- filter of the end date and time;
- group filter of the subject (unit group);
- single filter of the subject (unit);
- filter of the year;
- filter of the month.
These filters are easiest to use together, for example, a filter of the start date and time with the filter of the end date and time; filter of the year with a filter of the month, etc.. However, there are no restrictions on the use of filters. This field is not necessary to create a new report template, as well as, at the same time all available filters can be selected.
4. Description of the report
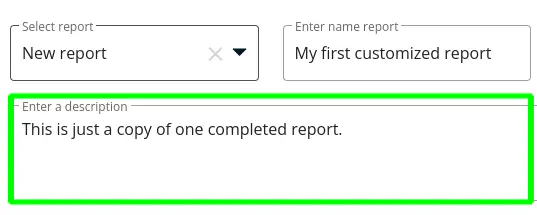
This field is provided to describe the report template, for example, you can describe all the details of the unit settings for this report or describe in detail the result of the performance of this report template.The field is required.
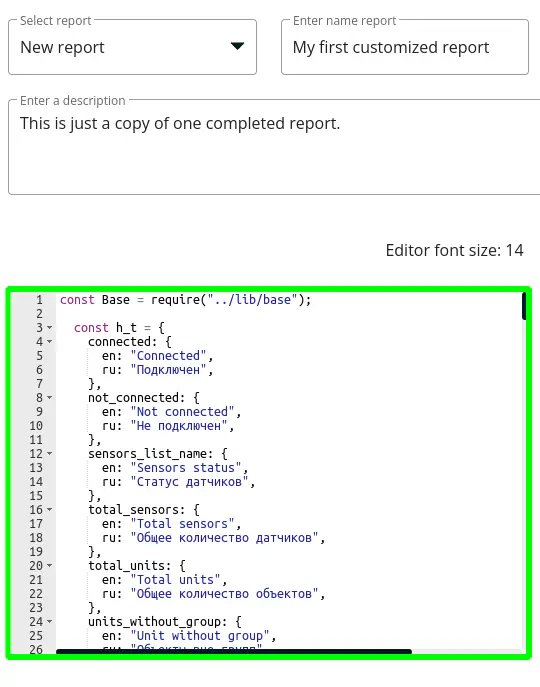
5. Report code
In this field, it is necessary to describe the entire logic of data processing both input and data that were obtained during the generation of the report in the JavaScript programming language. Initially, in this field there is a generation code for the state of connection and inclusion of sensors.
More details about the generation algorithm of the report (report code)
The generation of the report is divided into two stages:
- obtaining data in a function in a function getData;
- data export to Excel to the function make, subsequent generation of the XLSX format file.
It is important to consider that these are two required functions, those should be written in the report of the report. If they are not found in the report code, the process will not be completed. Therefore, the logic of the formation of the report should be divided into two stages:
- obtaining data and converting them to the desired format;
- data exports to .xlsx file.
Get data and its parsing
Parental function with the name getData includes data and their parsing, function this.callService, that will most likely be used in getData, and other functions that can be written independently and use at your discretion, but within the framework that do not go beyond the restrictions of the system.
Function getData
This function has one input argument in the form of a JSON object, that contains values transferred when requesting a report generation, for example, the start and end date of sample for the period (startDate, endDate), unit group number, by that a report will be made (group_name) or one unit (unit). The output of these functions are what needs to be exported to the file .xlsx format. It can be an array of objects or an object.
Function callService
For use Wialon API there is a function this.callService with input parameters:
- String - whe name of the method in Wialon API, for example: “report/exec_report”, that is, what is going on in the request as svc. Required parameter.
- Object - all parameters that will be used in the API, for example:
{
  reportResourceId: idOfResource,
  reportTemplateId: idTemplate,
  reportTemplate: null,
  reportObjectId: Number(reportObjId),
  reportObjectSecId: 0,
  interval: {
    flags: 16777216,
    from: Number(dateFrom),
    to: Number(dateTo)
  },
  reportObjectIdList: []
};
The parameter is required. If the request does not need parameters, then it is necessary to pass an empty JSON object {};
Behavior in errors.
Upon receipt of any answer that is not correct execution or response contains the property error with a value of more than 0, an exclusion with the subsequent stop of the report generation will be caused.The exclusion object contains a mistake code that informs about what was the reason for the error.
The output is response of the executed request.
To obtain data that is not related to API Wialon you can connect and use the package “request”:
conts request = require("request");
As a rule, this is done in the first lines of the code.
Export of the parsed data
Function make
This function is performed after completion of the function getData. The input parameter is that it was returned by the getData function. As well as for getData, for this function there are several functions to simplify export.
Function addWorksheet
Called using the following code:
this.wb.addWorksheet(title);
The input parameter is the line with the value of the sheet name.
Function createStyle
Called using the following code:
this.wb.createStyle(style);
The input parameter is a json object. The format of the object for creating a style is described in the documentation excel4node.
The result of the report
With the successful execution of all the functions that were described, a file with data that can be downloaded in the tab Generated reports. If an error occurs, an object with details about an error that will be displayed in a separate area or with debugging messages will be returned.
6. Save of the report template
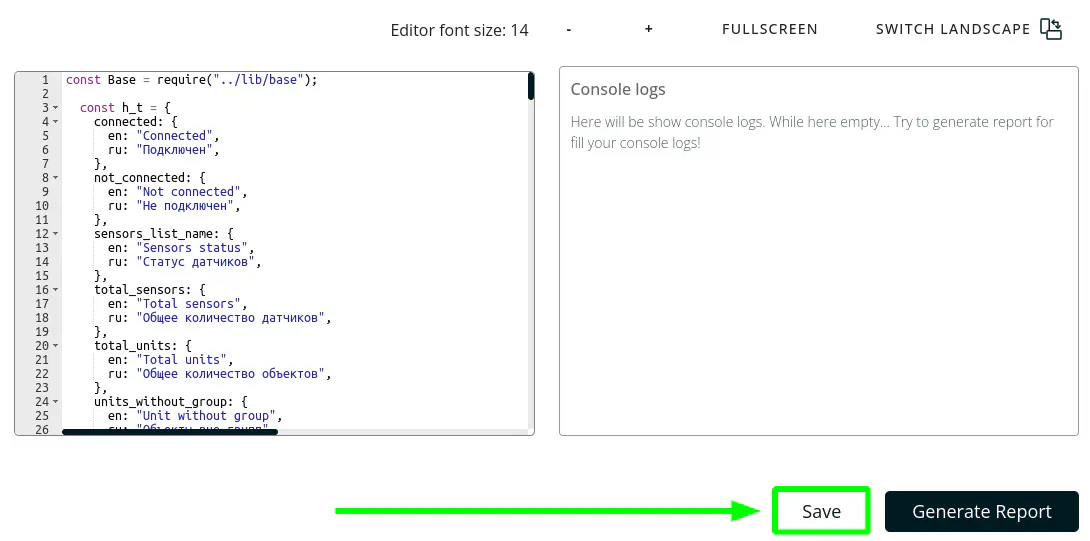
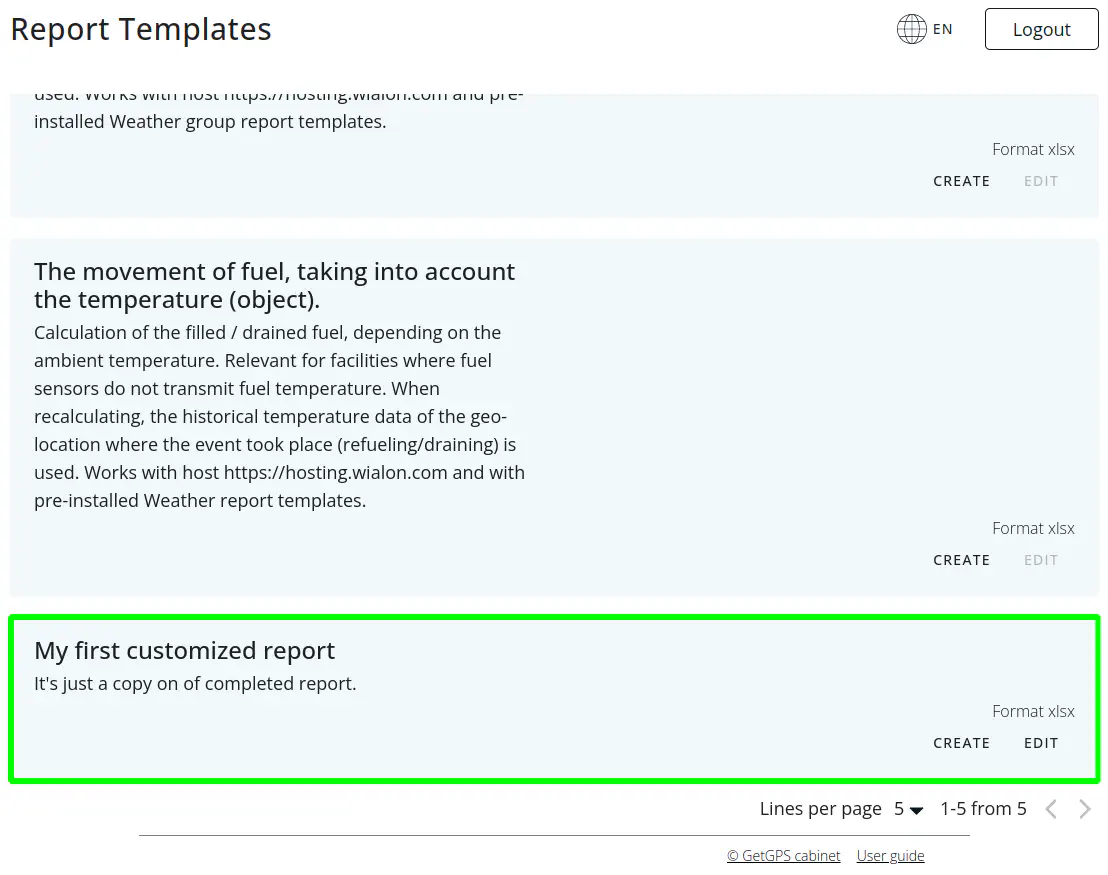
After the previous steps have been completed, it is necessary to save a new report template so that it becomes available for use. To do this, click on the Save. Now, the report template is available for the use of the organization’s users in the tab Report Templates.
Generation
The report template, that was created available for generating on the Report Templates, as well as on the current tab, where this template was created. To generate it, the user needs to choose a report in the drop-down list, press the button Generate Report. If there are filters, select values for them and send a request for a report generation.
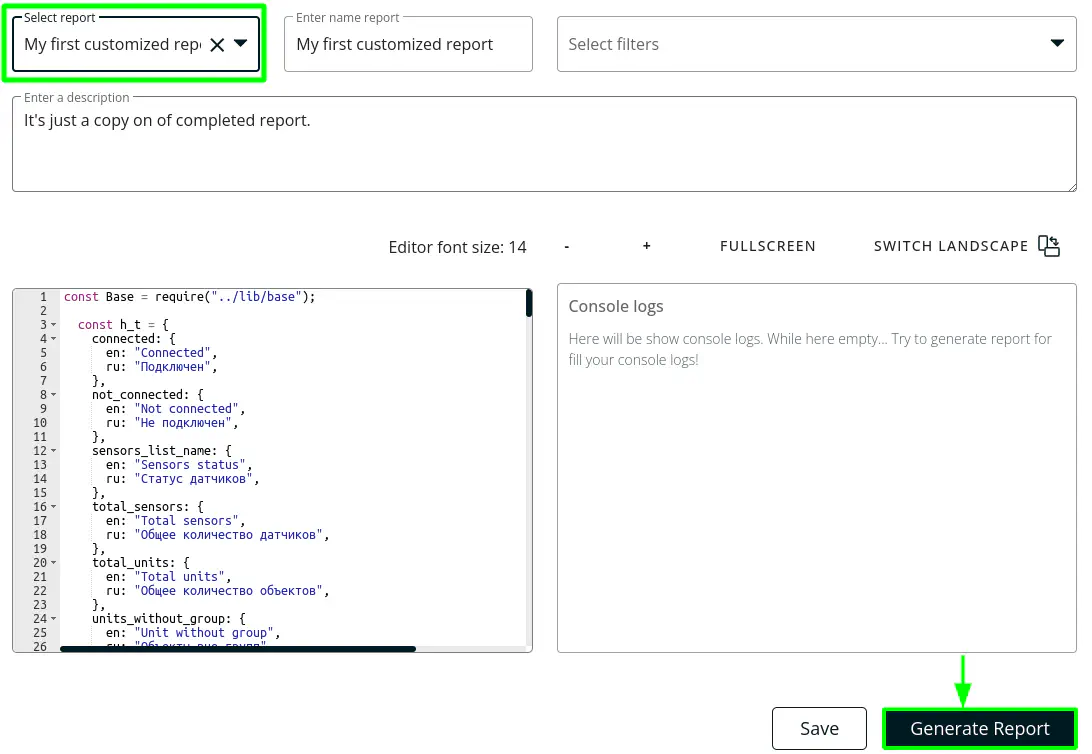
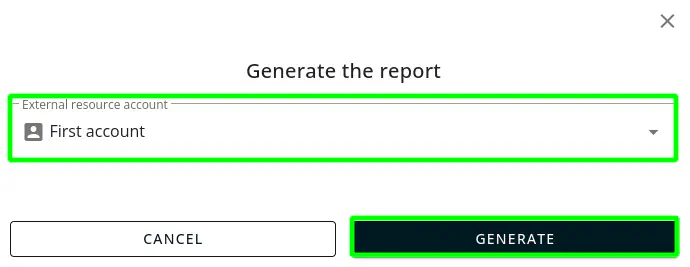
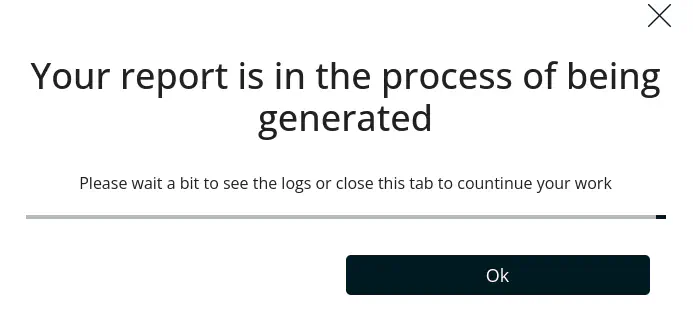
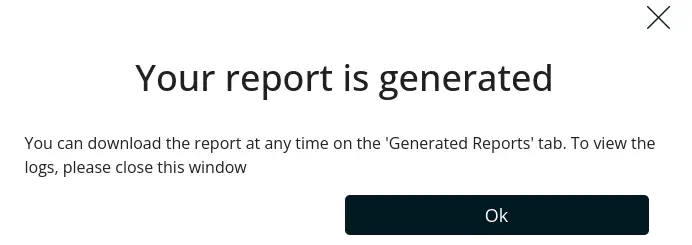
If you need to view debt messages, then this should be done on the tab Generator report templates.
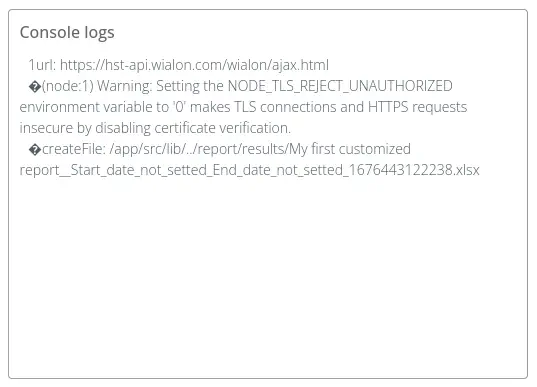
If the generation of the report implies the usual use without debugging, in this case this can be done both on the Report template generator, and on the Report Templates.

Editing template report
To edit any report template, you need to go to the Report Templates tab and click on the Edit button in the record template or go to the Report template generator and select the report in the drop-down list of reports, that must be changed.
