Profile
Last update: 31 Jan 2023
Where it is
All functionality for managing the profile and organization is located in the tab Profile:
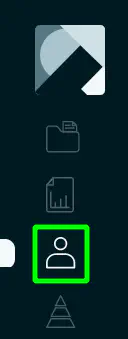
Functional
Tab Profile includes 3 logically blocks:
- User profile management - changing the name and password;
- Organization management - changing the name of the organization, connecting plugins;
- Accounts management of invited users to the organization, accounts of external resources.
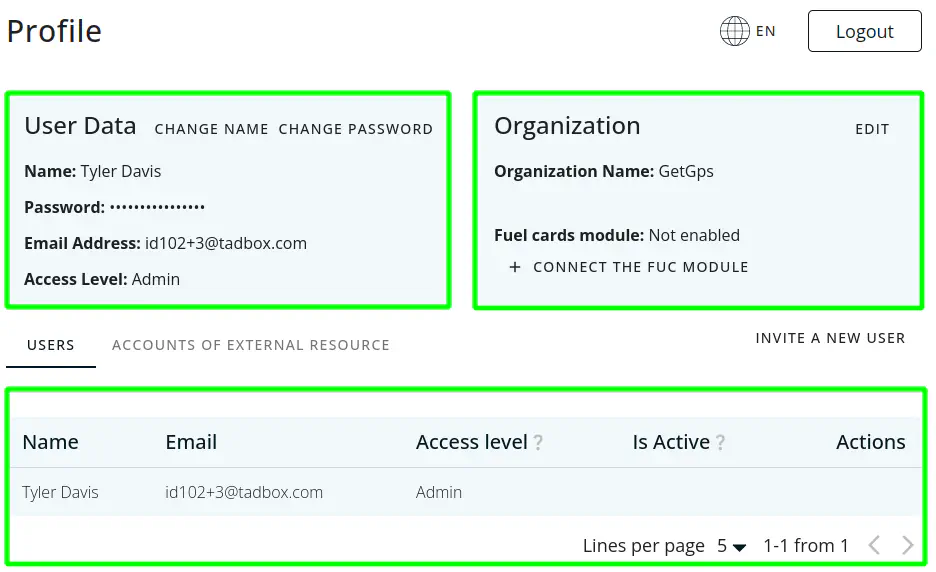
Further, all the functions of the tab will be considered in detail Profile separately.
Changing the name
- The function of changing the name is in the block control of the user profile. To change the name of the account, click on the button Change name:
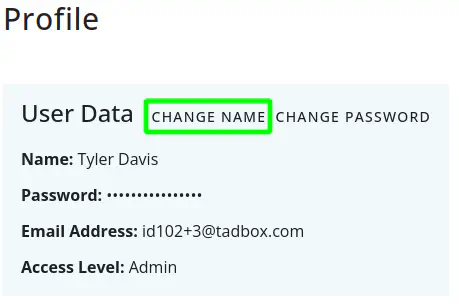
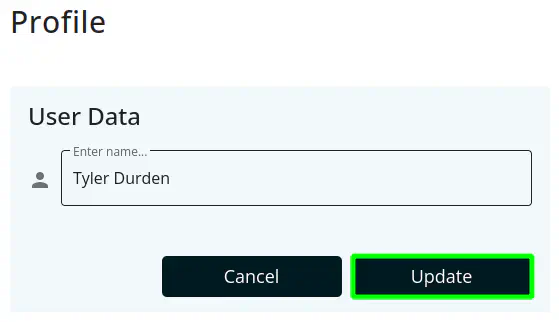
- In the field that appears, the current name of the user will be initially. You need to enter a new name for the user account:
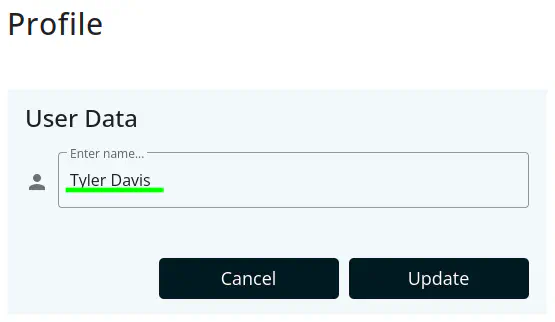
- After entering a new name, you should click on the button Update:
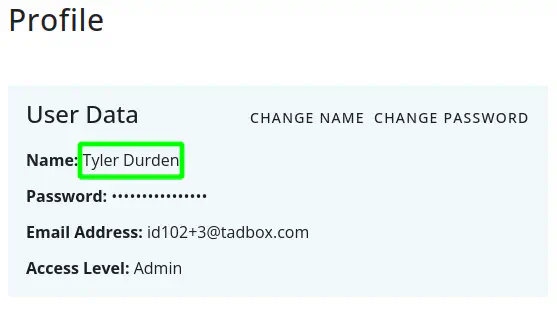
- Done! The new name will be displayed in the user profile immediately after its change.
Change Password
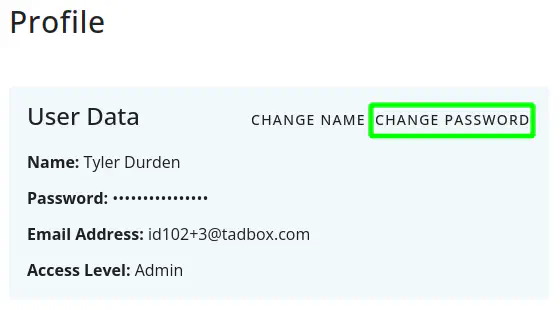
- Password changing function is in the user profile. To change the name of the account, click on the button Change password:
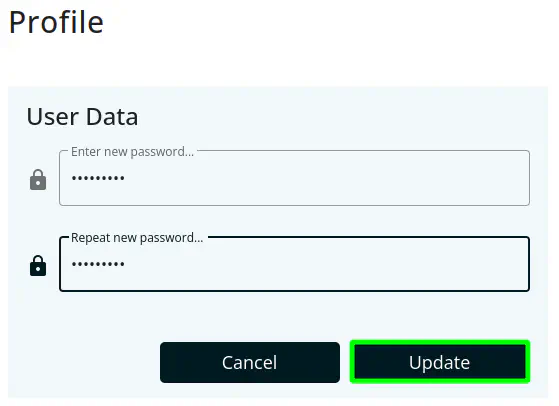
- In the displayed fields, you need to enter a new password:
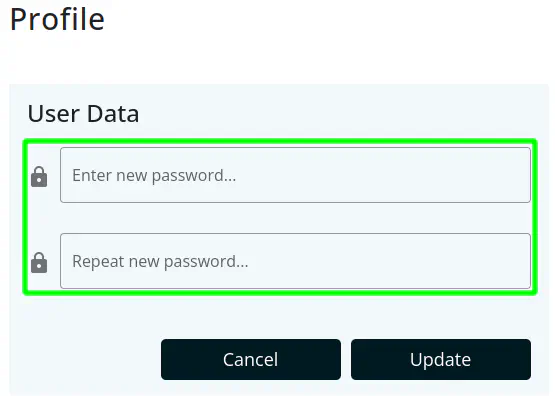
- After entering a new password, you should click on the button Update:
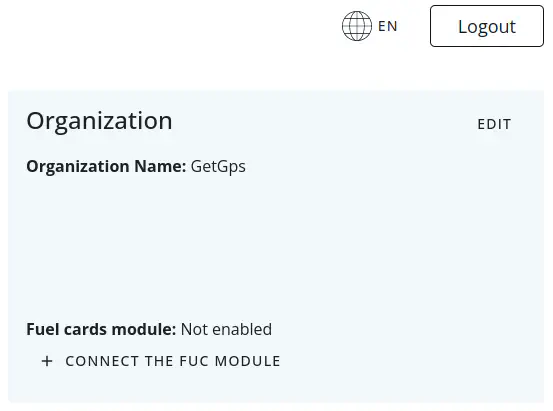
Information about the organization of the user
Information about the organization, connected plugins and all the functionality associated with this, is in the block of the organization management.
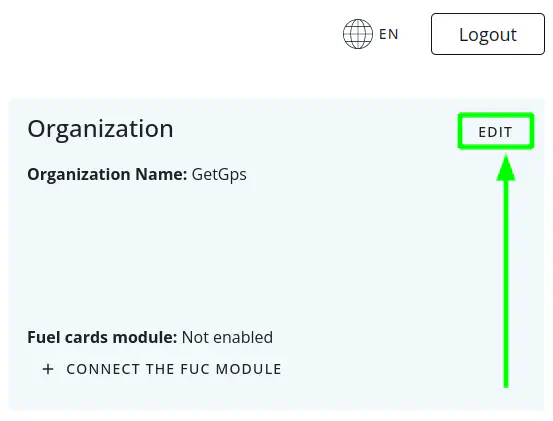
Changing the name of the organization
- To edit the name of the organization, you need to click on the button Edit:
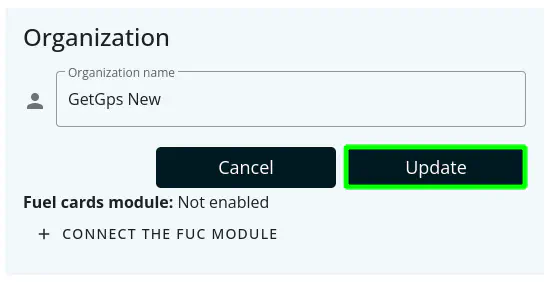
- A new name of the organization must be entered in the field that appears:
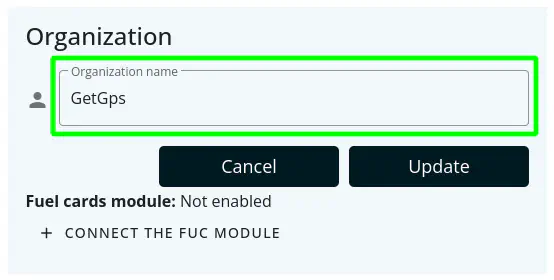
- After entering a new name, you must click on the button Update:
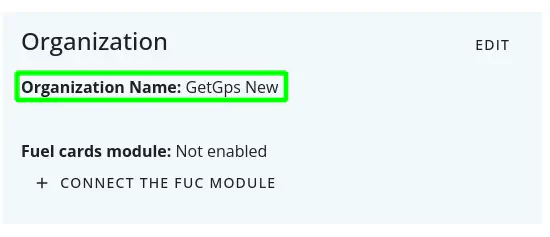
- Done! The new name of the organization will be displayed in the block of information about the organization:
Request for connecting the fuel cards module
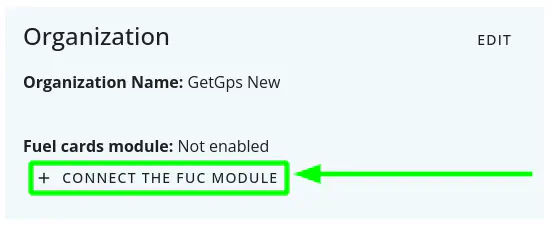
- To request on the connect the FUC plugin, click on the button Connect the FUC module:
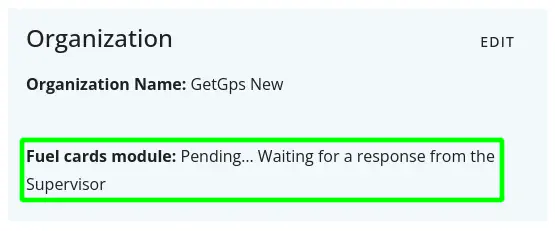
- The application administration will be notified of the plugin request and will contact you in the near future. Connection status can always be seen in the same place where there was a button for a plugin connection request:
User management
In this block, the management of users of the organization who will or were invited by the administrator of the organization will be considered.
User invitation
- To invite the user, on the table tab Users you need to click on the button Invite a new user:

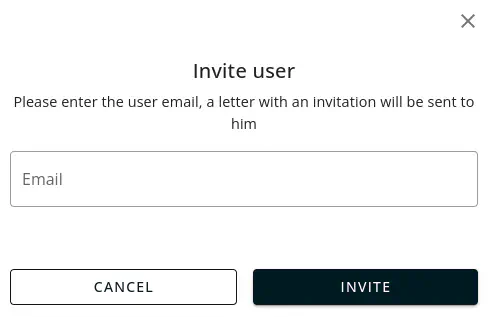
- In the modal window field, you need to enter an e-mail of the invited user to send a link with an invitation to them e-mail:
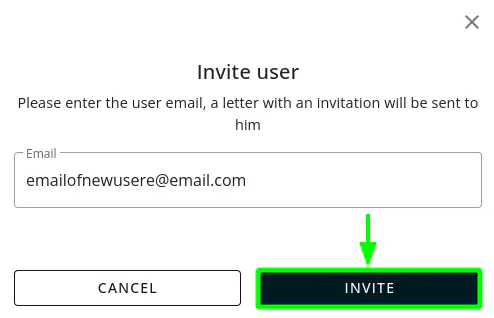
- After entering the email of the new user, you must click on the button Invite:
- Ready.Further instructions for registration in the application, the user will receive by the specified e-mail.
User blocking
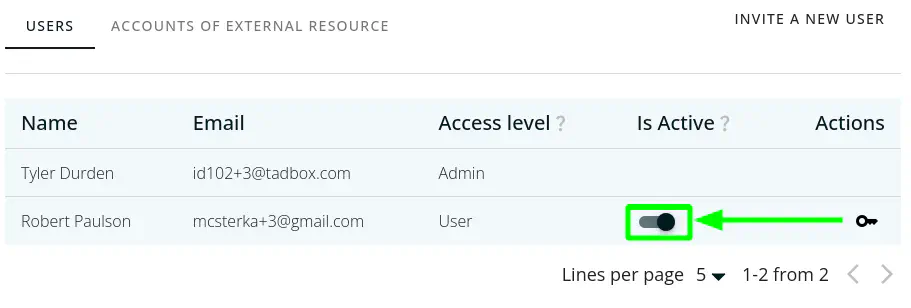
- To block the user who was registered in your organization, you need to click on the switch in the table Users in the column Is Active:
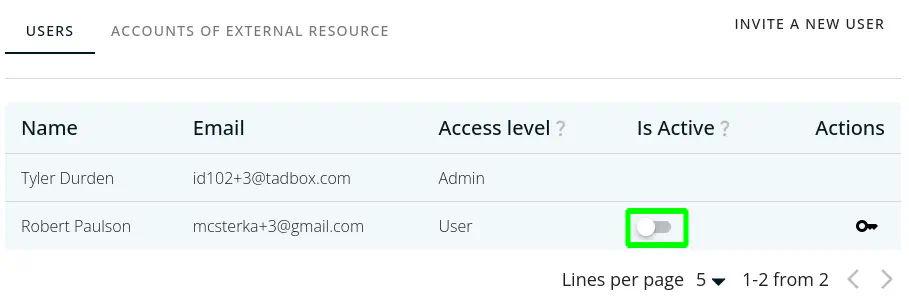
- After this action, the user will not be able to log in to the application, since them account is blocked:

- For unlocking, you need to do the same, but now, already on an inactive switch.


Management of access to external resources for users
- To distinguish access between invited users, there is a function of providing access to external accounts for each user separately.To do this, you need to click on the 🔑 (key) icon of the user, who needs to provide access to certain accounts of external resources:

- In the modal window, select the necessary accounts of external resources:
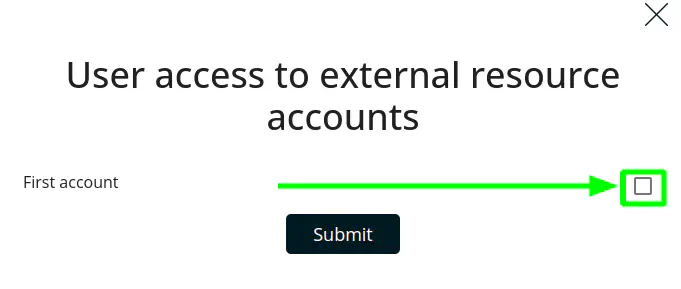
- After choosing, press the button Sumbit:
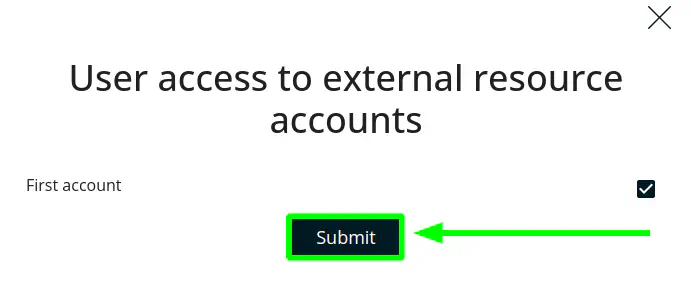
Done! Now the user can use the external resource account provided to them.
In order to limit the rights to use an external resource account, you need to do the same, just remove ✓ (check mark) in record of permission.
External resource account management
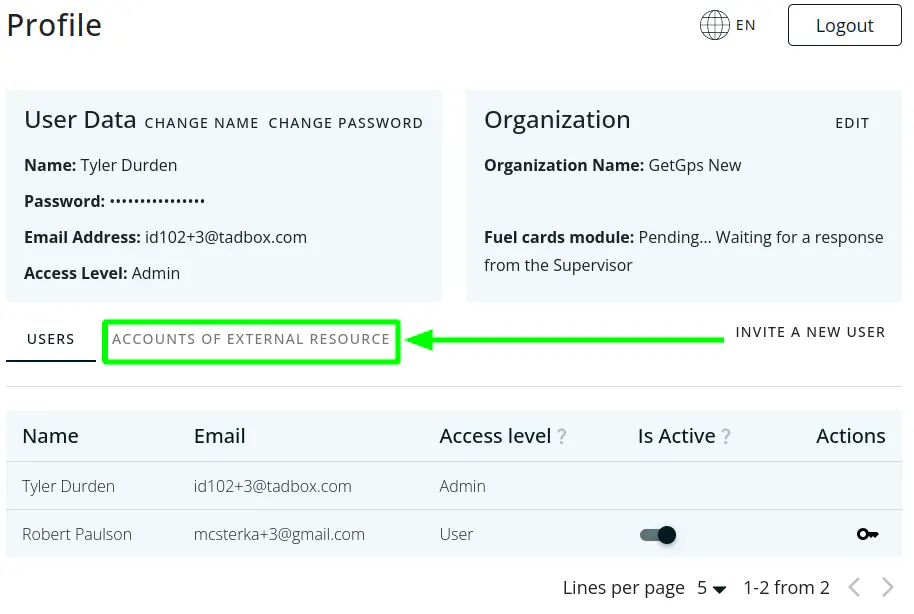
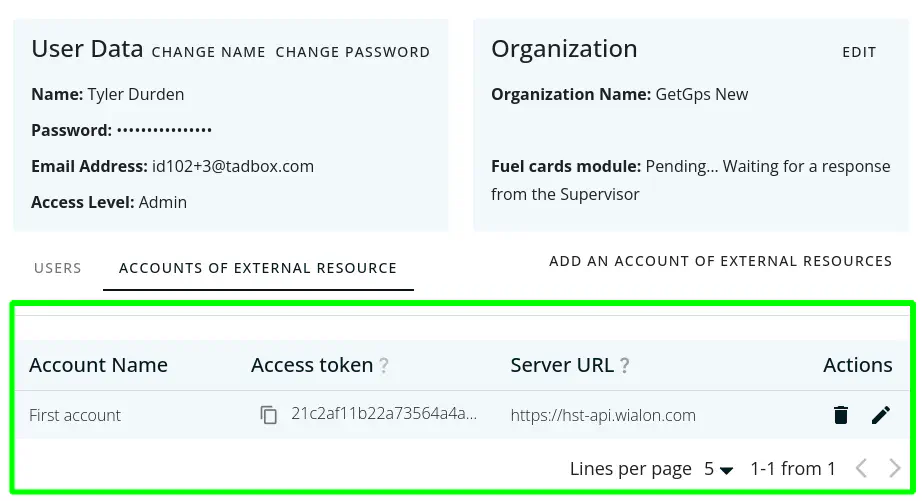
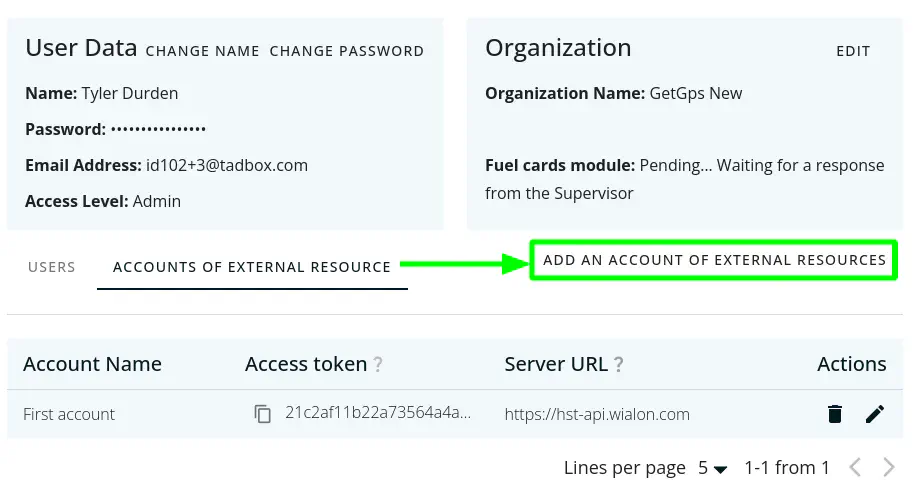
In this paragraph, the management of accounts of the resources has been considered, namely: creation, change, deletion. In order to display a table of external resources accounts and the listed functionality, you need to click on the tab External resources accounts:
Adding an account
- To add an account, you need to click on the button Add an account of external resources:
- In the modal window, it is necessary to enter the data of the account of external resources. Consider each field more close:
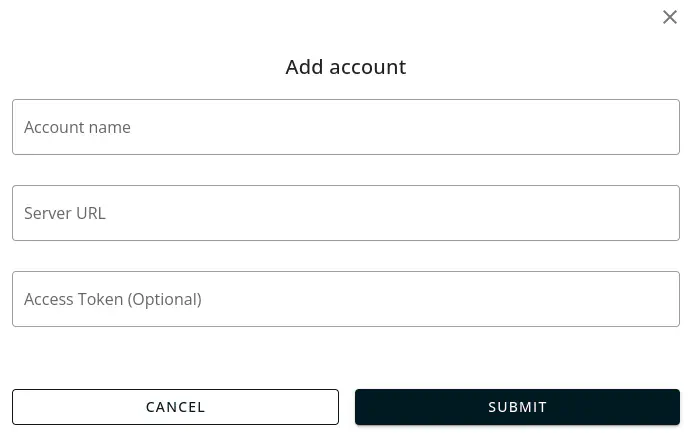
Account name - provided only for ease of use. In this field you can write any meaning, but it is recommended to enter the name simply and different from everyone so that the desired account can quickly be found among others;
Server URL - if you are a user of Wialon Hosting, then the value for your accounts will in most cases be the following: https://hst-api.wialon.com. If you use Wialon Local, In this case, it is necessary to indicate the domain name of the server;
Access Token - This field is not necessary to fill out and if you do not know where to get this token, the application has the functionality of obtaining token. The value of this field is responsible for access to Wialon API. In this case, a case is being considered if the user does not know where and how to get access tokens. If you know where it is and how you can get it, then enter it in the field at once.
- After entering the account data, you must click on the button Submit:
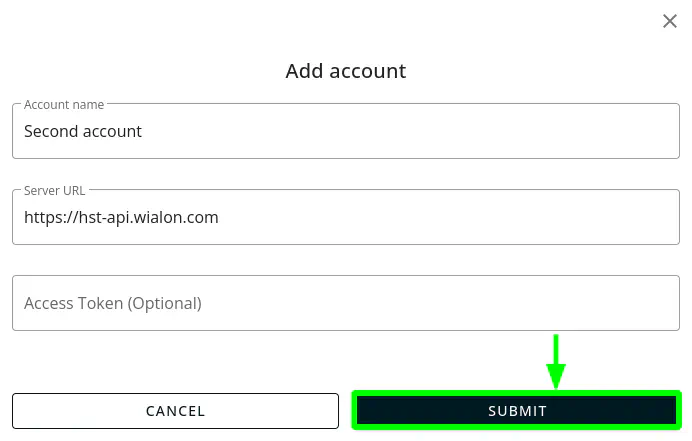
- Done! The new account will be displayed in the account table:

Adding token
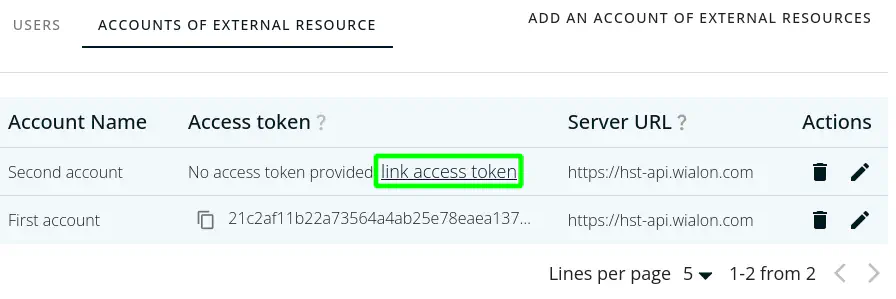
- If the account of external resources does not have a token, then a link with the text will be displayed in the table link access token. To bind the token using the application functionality, you need to click on the link:
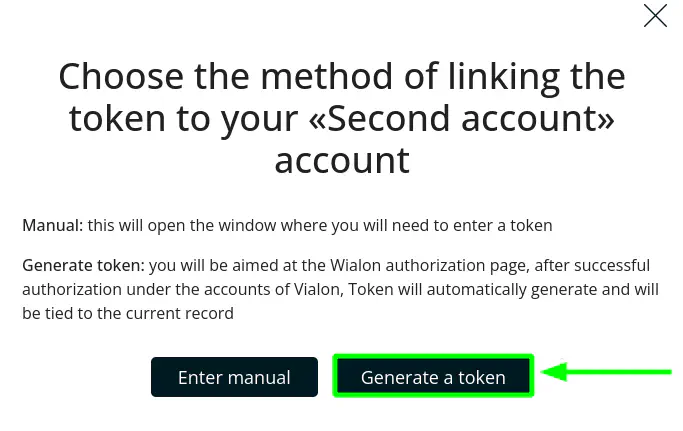
- In the modal window, you need to click on the button Generate a token
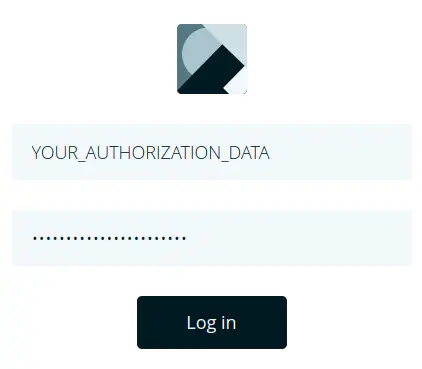
- You will be redirected to the form of Wialon authorization for authorization on the URL you specified. It is necessary to enter your accounts from the Wialon account in the fields of the login and password.
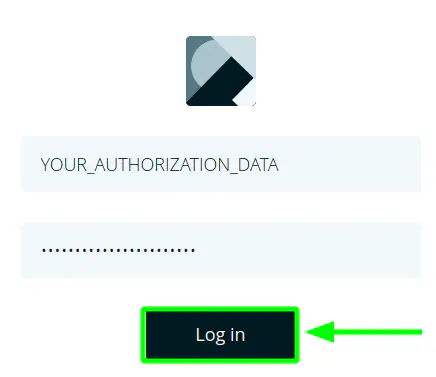
- After that, press the button Log in:
- Done! The new token attached to the account will be displayed in the table.

Account editing
- To change the data, you need to click on the icon ✎ (pencil) in the record of the account:
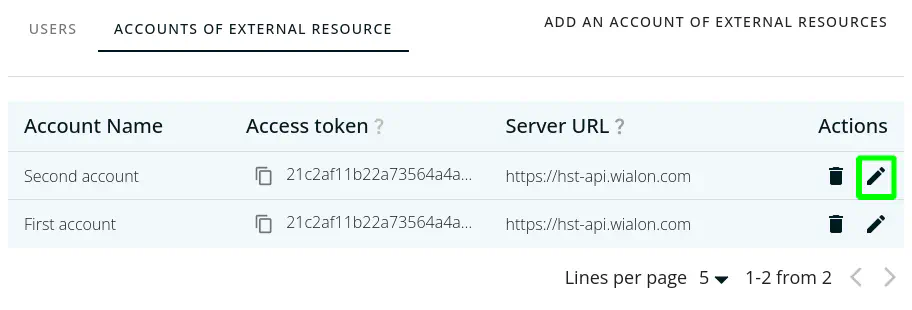
- Edit the entered data and click on the button Update:
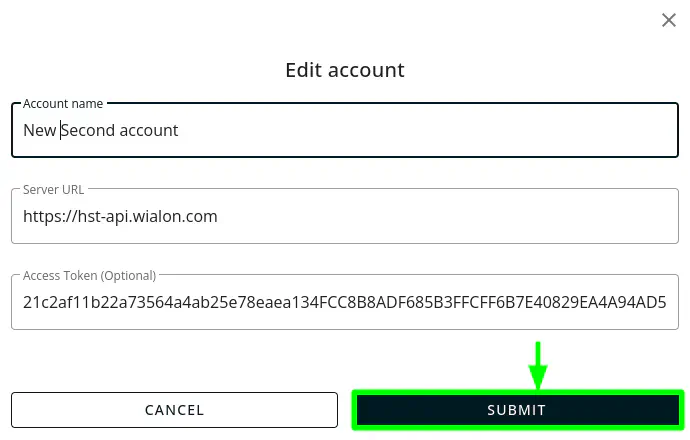
- Done! New data will be displayed in the table.
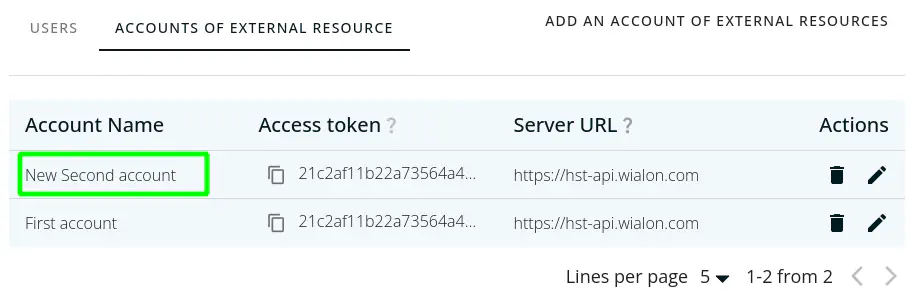
Account deleting
- To remove the account, you need to click on the basket icon in the account of the account:

- Confirm the removal in the modal window by pressing the button Yes:
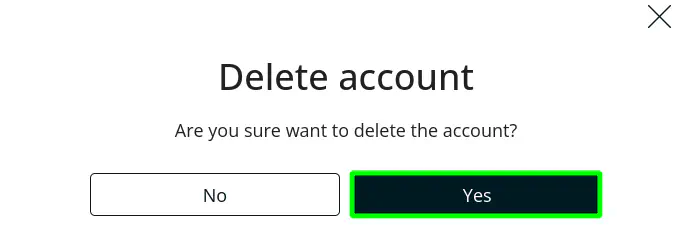
- Done! The account will no longer be displayed in the table.